

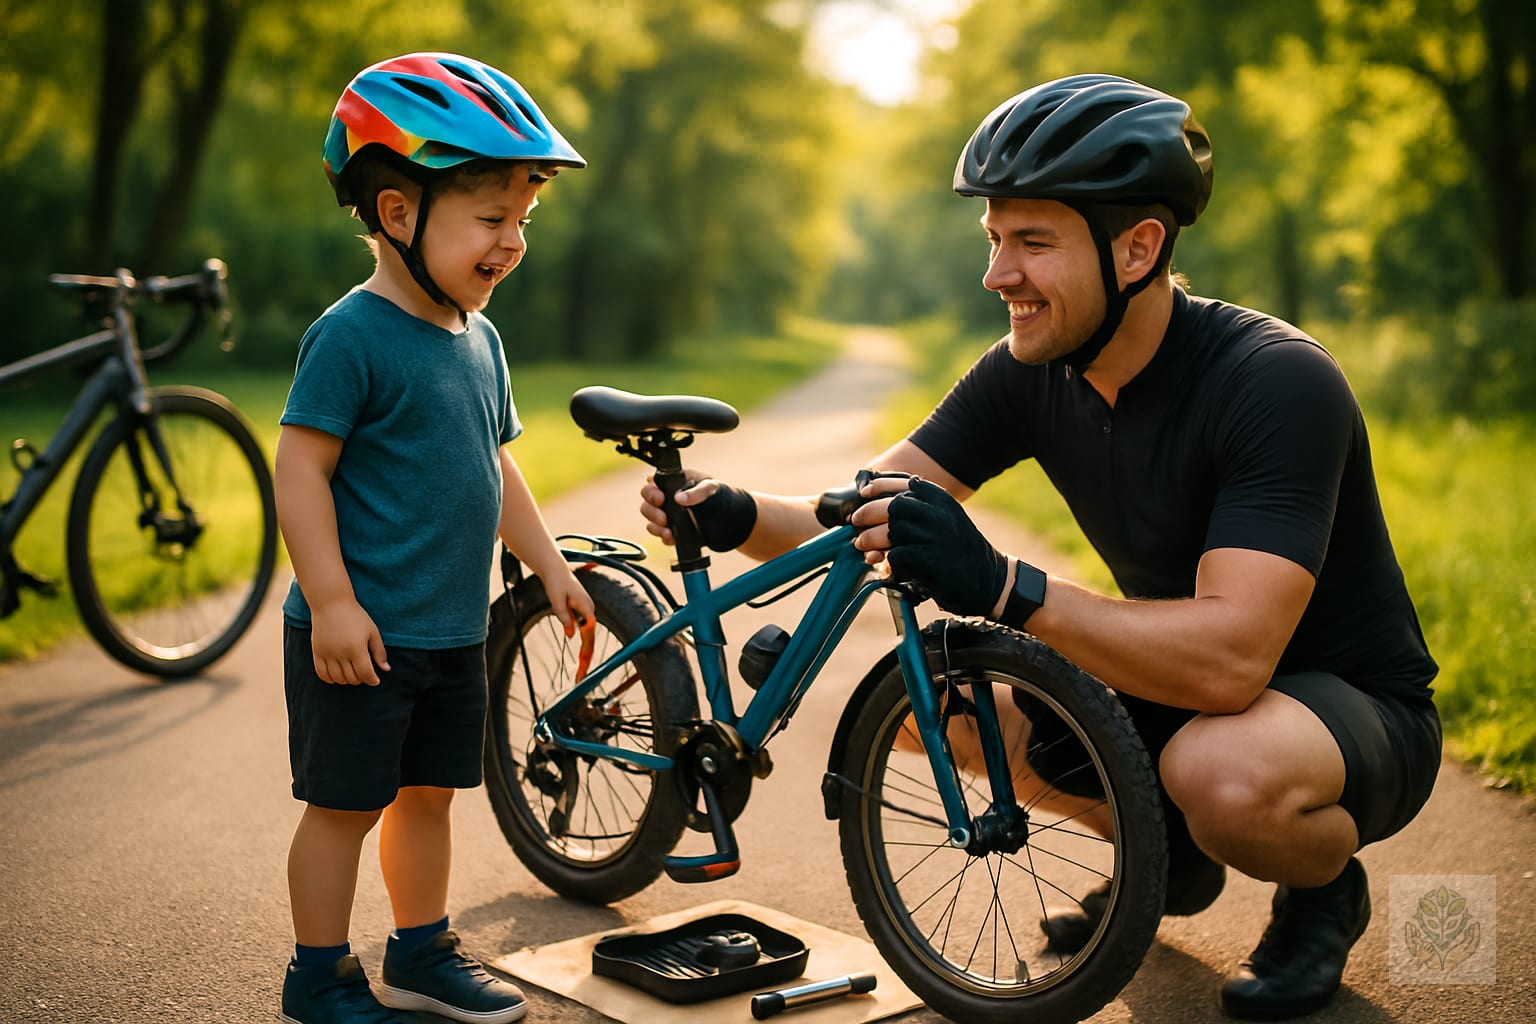
The Ultimate Guide to Bike Repair Kits for Family Cycling: Stay Prepared on Every Adventure
There is nothing quite like the feeling of hitting the local trails or bike paths on a sunny Saturday morning with the entire family. Cycling is one of the best ways to bond, stay active, and instill a love for the outdoors in your children. However, any seasoned parent cyclist knows that the joy of the open road can quickly evaporate if a tire goes flat or a chain slips miles away from the car.
Being prepared is the secret to a stress-free family adventure. A well-organized bike repair kit for family cycling acts as your mobile safety net, ensuring that minor mechanical issues don’t turn into ruined afternoons. By carrying a few essential items, you can handle common road issues with confidence, keeping the wheels turning and the smiles wide.
Why Every Family Cyclist Needs a Mobile Repair Kit
The most obvious reason to carry a repair kit is to avoid the dreaded long walk home. When you are two miles deep into a nature trail and your child’s bike chain drops or a tire loses pressure, the situation can become stressful quickly. Having the right tools on hand transforms a potential crisis into a quick, five-minute fix that turns into a great teaching moment.
Beyond convenience, carrying a kit teaches your children the value of self-reliance and proper equipment maintenance. When kids see you inspecting your gear or fixing a minor issue, they learn that responsible cyclists take care of their equipment. Furthermore, as a parent, the peace of mind factor is priceless. Knowing you are equipped to handle the unexpected allows you to focus on the fun rather than worrying about what might go wrong.
Essential Tools for Your Family Bike Repair Kit
Building a kit does not require an entire garage of tools. A few high-quality, versatile items will suffice for most family outings. Here is what you should include in your bike repair kit for family cycling:
- Multi-tools: Look for a compact multi-tool that includes various sizes of Allen keys, a flathead screwdriver, and a Phillips head. Ensure it is compatible with the bolts on both your bike and your children’s bicycles.
- Tire maintenance: Carry a portable hand pump that fits both Presta and Schrader valves. Pack a patch kit and at least one spare tube for each wheel size in your family fleet.
- Tire levers: Opt for high-quality plastic levers. While metal ones are strong, they can easily damage delicate aluminum rims, especially on smaller children’s bikes.
- Chain lube and cleaning supplies: A tiny bottle of dry-lube can save a noisy, rusty chain, and a few paper towels or a rag tucked in a bag can keep your hands clean during repairs.
- Emergency extras: Small items like heavy-duty zip ties, a short roll of duct tape, and a basic first-aid kit can address more than just bike issues.
Customizing Your Kit: Kids’ Bikes vs. Adult Bikes
One of the biggest challenges in family cycling is the variety of hardware involved. A high-end mountain bike has very different needs compared to a 16-inch wheel youth bicycle. Before heading out, perform a compatibility check. Ensure your pump works with the valves on the kids’ bikes, as some smaller models use different connectors than performance adult bikes. For more gear guidance, check out The Ultimate Sports Equipment Guide for Active Kids: Safety, Sizing & Gear by Age.
Weight is also a factor. You want to be prepared, but you do not want to carry unnecessary bulk. Balance the utility of your kit with the weight you can reasonably manage. If you have multiple adults riding, consider splitting the weight of the tools between your respective bags to keep the load balanced.
How to Pack Your Kit: Storage Solutions for Families
Access is everything when you are on the side of a trail. Saddle bags are the gold standard for cyclists because they keep tools tucked neatly under the seat. However, for family rides, you might find frame bags more useful, as they allow for quicker access and can hold larger items like an extra tube.
Do not forget the storage space already available on the bikes. If your child has a front basket, it is a great place to store a light pump or extra tubes. If you use a bike trailer, use the ample storage pockets behind the seats for heavier tools. Always keep your kit organized in a small, waterproof pouch so you aren’t digging through snacks or sunscreen to find your Allen wrench. When planning trips with kids, you can also consult The Ultimate Packing List: 15 Must-Have Travel Items for Family Trips.
3 Basic Bike Repairs Every Parent Should Master
You do not need to be a professional mechanic to maintain family bikes. Mastering these three skills will handle 90 percent of the issues you encounter:
- Fixing a flat tire: Use your tire levers to remove the tire, inspect for thorns or glass, insert the new tube, and pump it up. Practice this in your driveway once so you aren’t doing it for the first time on a rainy trail.
- Adjusting seat posts or handlebars: Sometimes a bump in the trail causes a seat to slip. A simple turn of the correct Allen key on the seat-post clamp is all it takes to keep the ride comfortable.
- Fixing a dropped chain: This is the most common issue for kids’ bikes. Teach your child to shift their bike into the smallest cog if possible, then use your hands or a small stick to guide the chain back onto the chainring while rotating the pedals.
Maintenance Tips to Reduce Breakdowns on the Road
Prevention is the best way to avoid using your repair kit altogether. Adopting a consistent pre-ride safety check—known as the ABCs—can save your day. Check Air pressure in all tires, Brakes for responsiveness and proper grip, and the Chain for signs of dryness or rust.
Additionally, commit to regular at-home tune-ups. Children’s bikes often take more abuse than adult bikes, and bolts can rattle loose over time. Every few months, give the bikes a thorough cleaning and tightening. If you hear persistent clicking or notice shifting issues that you cannot fix, do not hesitate to visit a professional bike shop. Safety should always come before saving a few dollars.
Conclusion
Investing time in assembling and learning to use a bike repair kit for family cycling is one of the best ways to ensure your adventures stay fun and safe. When you are prepared, you turn potential obstacles into minor chores, keeping the focus squarely on the joy of riding together. For more inspiration on getting outside, read our guide on 10 Outdoor Activities to Boost Toddler Development Naturally.
Before your next big outing, set aside an hour this weekend to practice these repairs at home with your kids. It is a fantastic way to engage them in the mechanics of their bikes while building their confidence as young cyclists. Do you have a favorite multi-tool or a clever packing hack for your family rides? We would love to hear your tips—share them in the comments below!
Frequently Asked Questions
What should be in a bike repair kit for family cycling?
An essential kit should include a compact multi-tool, tire levers, a portable hand pump, tire patches, spare tubes for all wheel sizes, and a small bottle of chain lube.
How do I choose the right tire levers for kids’ bikes?
Opt for high-quality plastic tire levers. Metal levers can easily scratch and damage the delicate aluminum rims commonly found on children’s bicycles.
Why is a portable pump important for family rides?
A portable hand pump ensures you can quickly reinflate tires after fixing a flat. Make sure the pump is compatible with both Presta and Schrader valves used in your family’s bike fleet.
How can I prevent flat tires during family bike rides?
Perform a quick pre-ride check focusing on air pressure, avoid glass and sharp debris on trails, and ensure tires are properly inflated before heading out.
Where should I store the family bike repair kit?
Saddle bags and frame bags are great for quick access. You can also utilize bike baskets, trailer storage pockets, or a parent’s backpack to keep the gear organized.
How often should I check my kids’ bikes for maintenance?
Give the bikes a quick ABC check (Air, Brakes, Chain) before every ride, and do a deeper cleaning and bolt-tightening session every few months.