

“`html
How to Make a Simple Oat Sensory Bin at Home: A Step-by-Step Guide
As parents, we are always looking for ways to engage our children in meaningful play that doesn’t require complex gadgets or expensive toys. Sensory play is one of the most effective ways to support early childhood development, helping little ones process the world around them. Creating a simple oat sensory bin is a fantastic entry point into this world of exploration.
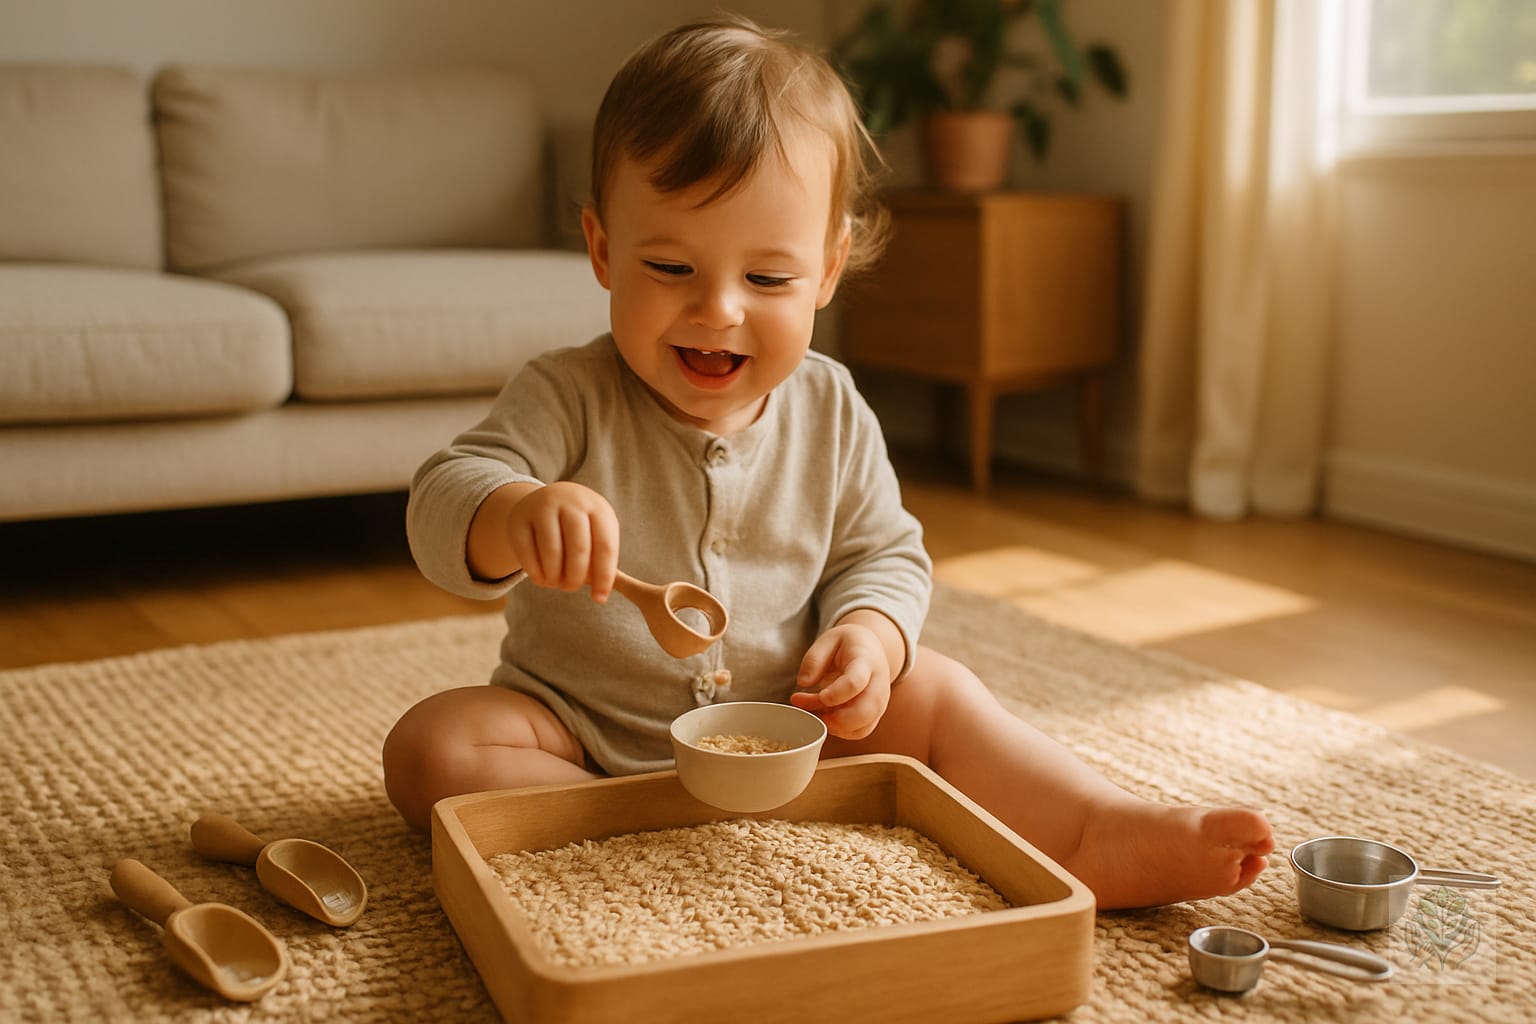
Sensory bins serve as a dedicated space for children to experiment with textures, weights, and sounds. Oats, in particular, have become a staple in many households because they are gentle, accessible, and offer a unique tactile experience that captivates toddlers for long stretches of time. In this guide, we will walk you through everything you need to know to set up your own sensory station at home.
Benefits of Oat Sensory Bins
The beauty of sensory play lies in its simplicity. When a child dips their hands into a bin filled with dry oats, they are doing much more than just playing; they are actively engaging their nervous system. This tactile stimulation helps children understand concepts like volume, depth, and texture. Indoor activities like this are great for developing coordination.
One of the primary reasons parents choose oats over other fillers is that they are generally considered a taste-safe option for younger babies or toddlers who still mouth their toys. While they are not meant to be a meal, knowing that a stray oat won’t cause harm offers parents peace of mind during play sessions. Additionally, oats are incredibly affordable and accessible, allowing you to rotate your sensory fillers frequently without breaking the bank.
What You’ll Need: Supplies Checklist
Before you get started, gather a few basic items. Having the right tools on hand ensures that the play remains engaging and the cleanup remains manageable.
- The Bin: A shallow plastic storage container works best. Look for one with a wide surface area and low sides, which allows your toddler to reach inside easily without straining.
- The Oats: Use old-fashioned rolled oats or quick oats. Both work perfectly, though old-fashioned oats are slightly sturdier for repeated scooping.
- Scooping Tools: Plastic measuring cups, small wooden bowls, kitchen tongs, or dedicated sand shovels are excellent for practicing motor skills.
- Optional Add-ins: Consider adding silicone cupcake liners, non-toxic figurines, or natural elements like wooden scoops to enhance the theme.
Step-by-Step: How to Make a Simple Oat Sensory Bin
Setting up your sensory space should be just as fun as the play itself. Follow these steps to ensure a successful experience for your little one.
Step 1: Preparing the play space
Even the most careful toddlers tend to scatter filler occasionally. To minimize the mess, place your sensory bin on a large towel, an outdoor patio mat, or a plastic tablecloth. This makes cleanup as simple as shaking the mat off once the play session concludes.
Step 2: Choosing and setting up the base container
Choose a bin that is sturdy enough to hold the weight of the oats. If you have multiple children playing at once, a wider under-bed storage bin provides ample space for everyone to participate without bumping elbows. Establishing a daily activity routine for preschoolers helps children know when it is time to engage in these sensory projects.
Step 3: Pouring and prepping the oat base
Fill your container with about two to three inches of dry oats. This depth is perfect for hiding small objects for your child to find, which adds an element of mystery and surprise to the activity.
Step 4: Incorporating thematic props
Once the base is ready, add your tools and props. Instead of dumping everything in at once, try arranging the items neatly to invite your child to explore. The presentation can often spark more creative play ideas.
Pro Tips for a Successful Sensory Experience
To keep the play fresh and engaging, you can dye your oats using food coloring and a splash of vinegar. Simply place the oats in a gallon-sized bag, add a few drops of color, shake vigorously, and spread them on a baking sheet to dry overnight. This adds a visual component that children love. For more inspiration, check out our ultimate guide to DIY crafts.
Safety reminders: Always supervise your child during sensory play. While oats are safe, they can be a choking hazard if handled improperly. Furthermore, establish a rule that the oats stay inside the bin. This helps set boundaries and teaches your child respect for their play materials.
To keep your supplies fresh, store the oats in an airtight container or a sealed storage bin when not in use. This prevents moisture buildup and keeps the sensory bin ready for your next rainy-day activity.
3 Easy Themes to Try
If you want to keep your toddler interested, switch up the theme of your bin regularly:
- Farm Animal Rescue: Bury plastic farm animals in the oats and provide a small barn or a toy tractor to help transport the animals.
- Construction Site: Use small metal trucks, pebbles, and orange cones to transform the bin into a miniature job site.
- Kitchen Baking Play: Provide measuring spoons, whisks, and muffin tins, and encourage your child to pretend they are baking a cake.
Frequently Asked Questions (FAQs)
Can my baby eat the oats?
While oats are technically safe to ingest in small amounts, they are intended for play. If your child is still in the phase where they explore everything with their mouth, supervise closely to ensure they don’t consume large quantities.
How long do oats last in a sensory bin?
In a dry, airtight environment, you can reuse oats for several weeks. If you notice any moisture, spills, or if they have been played with by many children, it is best to refresh the bin to prevent mold.
Are oats better than rice for sensory bins?
Oats are generally softer and lighter, making them ideal for younger toddlers. Rice creates a more ‘auditory’ experience due to its clicking sound and is better for older children who are less likely to put filler in their mouths.
Conclusion
A simple oat sensory bin is a gateway to hours of quiet, focused play. By providing your child with these simple materials, you are fueling their curiosity and helping them develop essential fine motor skills in an environment that feels safe and natural. You can explore more ways to support growth in our complete guide to preschool activities. We hope you feel empowered to try this project at home today.
Do you have a favorite way to use sensory bins? We would love to see your creations! Share your photos with us on social media or subscribe to our newsletter for more weekly parenting tips and developmental activities.
“`
Frequently Asked Questions
Can my baby eat the oats during sensory play?
While oats are taste-safe and harmless in small amounts, they are intended for play rather than consumption. Always supervise your little one closely if they still tend to mouth objects.
How long can I reuse oats in a sensory bin?
If kept in a clean, dry environment, dry oats can be reused for several weeks. Discard them immediately if moisture gets inside or if mold appears.
Are oats better than rice for younger toddlers?
Yes, oats are softer, lighter, and safer for younger toddlers compared to hard grains like rice, making them an excellent first choice for sensory bins.
How do I prevent my toddler from making a huge mess?
Place a large towel, patio mat, or plastic tablecloth underneath the sensory bin before play begins to catch stray oats and make cleanup effortless.
Can I dye the oats different colors?
Yes, you can dye oats by placing them in a bag with a few drops of food coloring and a splash of vinegar, then letting them dry overnight on a baking sheet.
What tools should I include in an oat sensory bin?
Plastic measuring cups, small wooden bowls, kitchen tongs, silicone cupcake liners, and toy construction trucks are wonderful tools to encourage scooping and fine motor skills.