

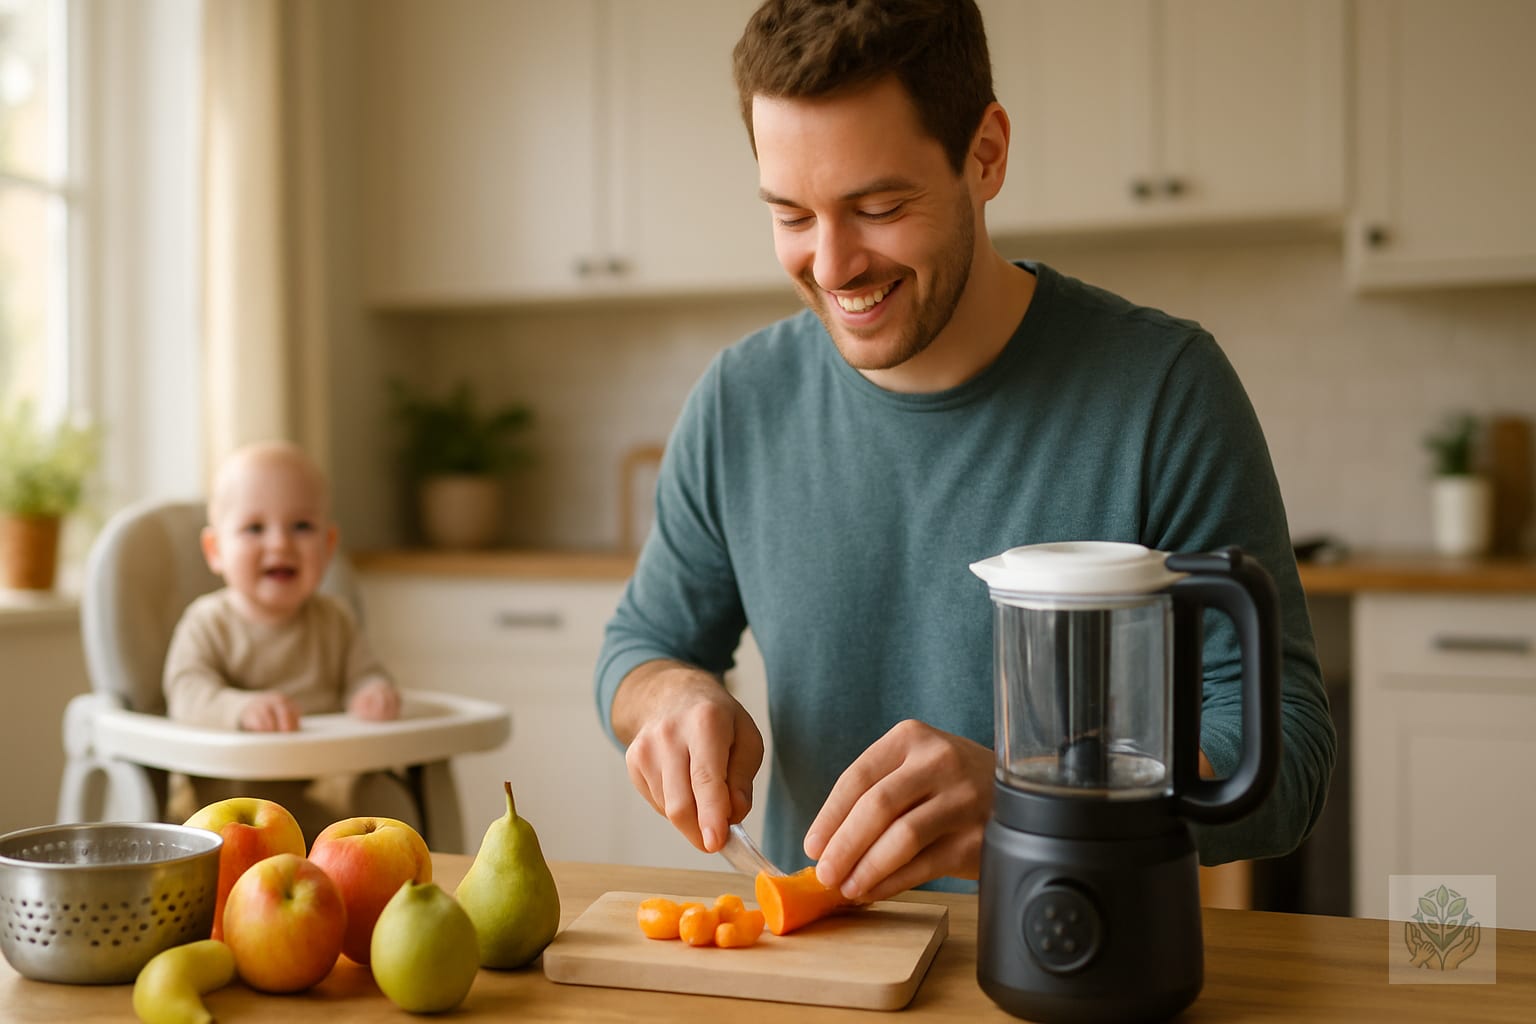
How to Make Healthy Fruit Purees for Babies: The Ultimate Step-by-Step Guide
Embarking on the journey of solid foods is a milestone every parent looks forward to. Learning how to make healthy fruit purees for babies at home is one of the most rewarding ways to ensure your child receives nutrient-dense, high-quality nutrition during their early developmental months. By preparing meals in your own kitchen, you take full control over ingredients, texture, and flavor, while saving money compared to commercial jars. You can find more homemade healthy baby recipes to expand your repertoire.
Beyond the cost savings, homemade baby food allows you to introduce your infant to the authentic taste of real food. Many store-bought options are processed at high heat to ensure shelf stability, which can sometimes degrade vitamins. Making your own purees gives you the peace of mind that comes with knowing exactly what is on your baby’s spoon.
When Is Your Baby Ready for Fruit Purees?
Most pediatricians recommend starting solids around six months of age. However, every child develops at a different pace. Before you begin, watch for physical signs of readiness rather than just checking the calendar. Your baby may be ready to start eating when they can sit up with little to no support, have lost the tongue-thrust reflex that causes them to push food out of their mouths, and demonstrate a clear interest in what you are eating. For additional preparation, check out our guide on starting baby’s first foods.
Always consult with your pediatrician before introducing new foods. They can provide guidance based on your baby’s specific growth chart and medical history. Remember, breast milk or formula should remain the primary source of nutrition during the first year, with fruits serving as a gentle introduction to flavors and textures.
Essential Equipment for Making Baby Food
You do not need a high-end kitchen to master the art of baby food preparation. A few basic tools can make the process efficient and safe. You will need a reliable steamer basket to cook fruits while preserving nutrients, a high-quality blender or food processor to achieve a smooth consistency, and silicone storage molds or BPA-free ice cube trays for portioning. When selecting gear, refer to our guide on choosing baby feeding accessories.
Hygiene is paramount when preparing food for an infant with a developing immune system. Always sanitize your workspace, cutting boards, and utensils before you begin. Washing your hands thoroughly and ensuring that all containers are completely dry helps prevent bacterial growth, keeping your baby’s meals as fresh as possible.
Best Fruits for Your Baby’s First Bites
When starting out, focus on gentle, easily digestible fruits. Apples and pears are classic choices because they are mild in flavor and gentle on the digestive system. Bananas are excellent because they require no cooking and can be mashed easily. Avocados, while technically a fruit, provide essential healthy fats that are crucial for brain development.
When shopping, choose organic produce whenever possible to minimize exposure to synthetic pesticides. If you are using conventional fruits, be sure to wash them thoroughly or peel them to reduce surface residues. The goal is to provide a clean, simple, and allergen-friendly experience as your baby explores new tastes.
Step-by-Step: How to Make Healthy Fruit Purees
Follow these simple steps to ensure you are creating the healthiest meals for your little one:
- Selecting and washing: Choose ripe fruit that is free of bruises. Wash everything under cold running water to remove dirt.
- Peeling and removing seeds: Remove all skins, stems, pits, and seeds, as these can pose a choking hazard or be difficult to digest.
- Steaming vs. boiling: Steaming is the preferred method because it retains more water-soluble vitamins compared to boiling. Cook the fruit until it is tender enough to be easily pierced with a fork.
- Blending: Transfer the fruit to your blender. Pulse until the consistency is completely smooth and free of any large lumps.
- Adjusting texture: If the puree is too thick, add a small amount of expressed breast milk, formula, or filtered water to reach your desired consistency.
Storage and Food Safety Tips
Freshly made purees can be kept in the refrigerator for up to 48 hours in an airtight container. For longer storage, the ice cube tray method is a game changer. Simply pour the puree into silicone trays, freeze them solid, and then transfer the cubes to a freezer-safe bag. Each cube acts as a perfect single-serving portion.
When you are ready to serve, thaw the cubes in the refrigerator overnight or heat them gently in a water bath. Never reheat food more than once, and discard any leftovers that have touched your baby’s spoon, as saliva can introduce bacteria into the container. Maintaining a clean kitchen environment is part of overall baby safety practices.
Introducing New Flavors and Avoiding Allergens
The three-day rule is a helpful strategy for identifying potential sensitivities. Introduce one fruit at a time and wait three days before trying another. This allows you to monitor for signs of an allergic reaction, such as a rash, diarrhea, or vomiting. If the baby handles a fruit well, you can start combining it with others.
Once your baby is comfortable with individual flavors, consider mixing them with vegetables like sweet potatoes or peas to create complex flavor profiles. You can also mix fruit purees into infant cereals or oatmeal to add natural sweetness without using added sugars. Learn more about planning healthy baby meals as your little one grows.
Common Questions About Baby Purees
Many parents wonder if they should add flavorings. It is best to avoid added sugar, salt, or honey. Honey is strictly prohibited for infants under one year old due to the risk of botulism. You generally do not need spices, but a tiny pinch of cinnamon can be introduced later if you wish.
Regarding frozen or canned fruit, frozen fruit is a great alternative if it contains no added sugars or syrups. Avoid canned fruits if possible, as they often contain heavy syrups or high levels of sodium. Trust your baby’s hunger cues to determine portion sizes; they will let you know when they are full by turning their head away or closing their mouth.
Conclusion
Learning how to make healthy fruit purees for babies is a journey that connects you more deeply with your child’s nutritional needs. By starting with simple, single-ingredient purees and gradually introducing variety, you are helping your baby develop a palate for wholesome foods. Enjoy this stage of your parenting journey, and don’t be afraid to experiment with new, safe combinations as your baby grows. See more in our guide to baby nutrition tips.
Frequently Asked Questions
When can my baby start eating fruit purees?
Most pediatricians recommend starting solids around six months of age when your baby can sit up with little support, shows interest in food, and has lost the tongue-thrust reflex.
Which fruits are best for a baby’s first bites?
Apples, pears, bananas, and avocados are excellent first choices because they are mild in flavor, easily digestible, and gentle on a baby’s stomach.
Should I steam or boil fruit for baby purees?
Steaming is the preferred method because it helps retain more water-soluble vitamins compared to boiling, ensuring your baby gets maximum nutrition.
How long can homemade fruit purees be stored?
Freshly made purees can be stored in an airtight container in the refrigerator for up to 48 hours or frozen in ice cube trays for several weeks.
Can I add sugar, salt, or honey to baby purees?
No, you should avoid adding salt and sugar. Honey must never be given to infants under one year old due to the risk of infant botulism.
What is the three-day rule when introducing new foods?
The three-day rule involves introducing one new food at a time and waiting three days before trying another to easily monitor for any allergic reactions.