

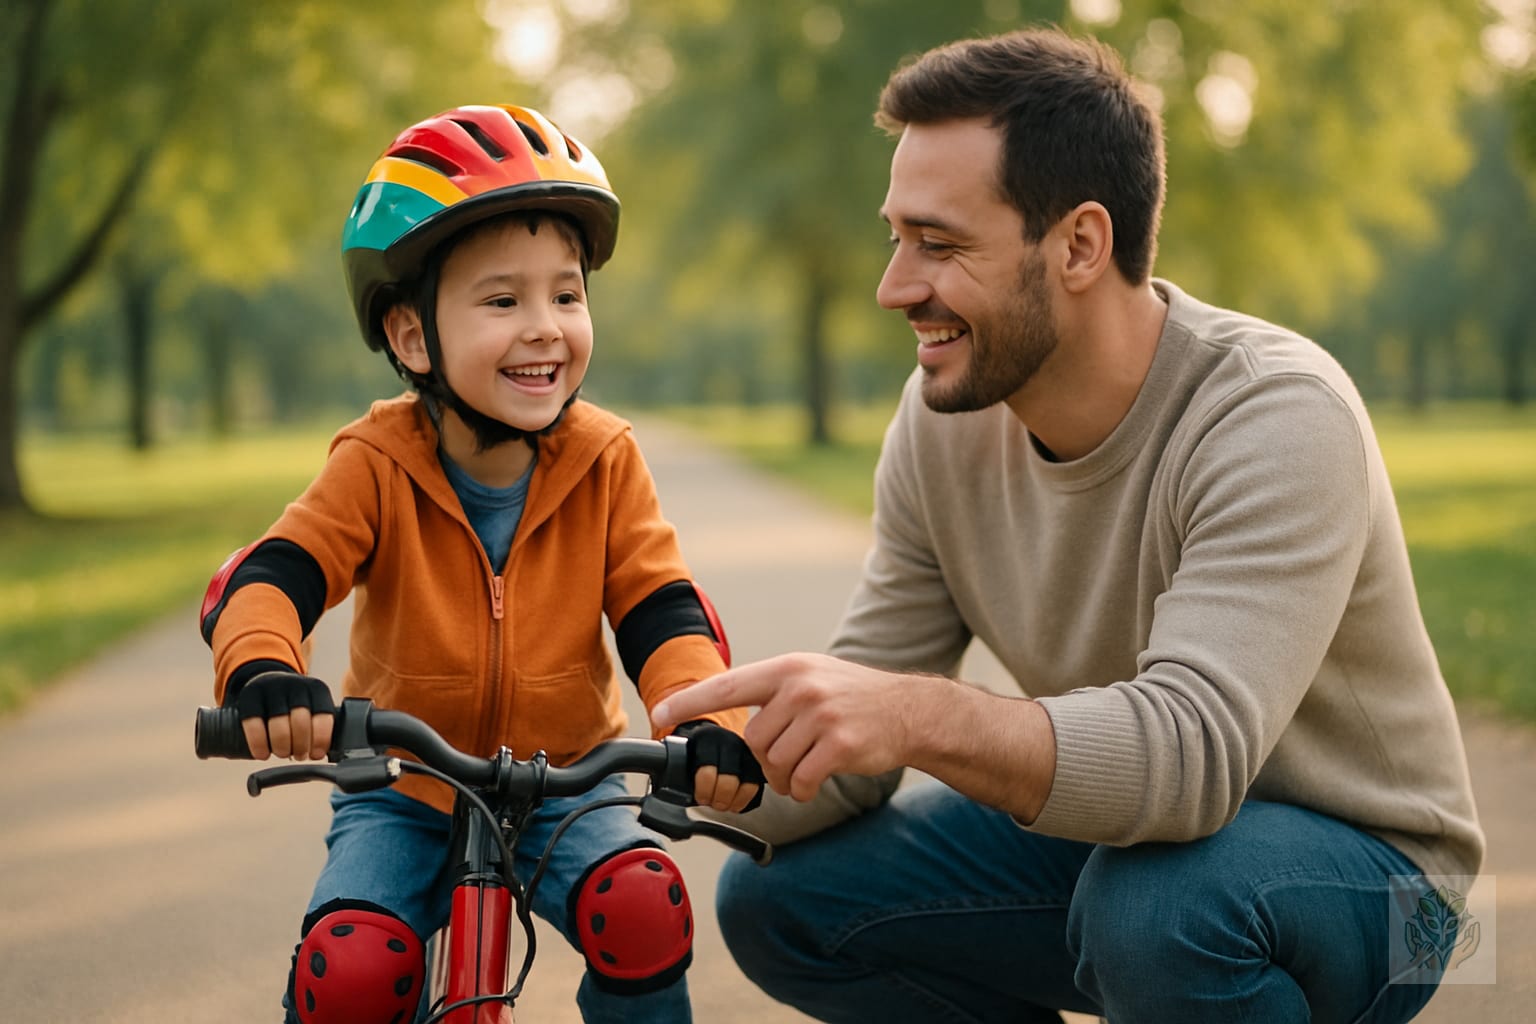
How to Teach Your Child to Brake Safely on a Bike: A Step-by-Step Guide
Learning to ride a bicycle is a major milestone in childhood, representing freedom, exercise, and newfound independence. While most parents focus heavily on balance and pedaling, learning how to teach your child to brake safely on a bike is arguably the most critical skill for long-term safety. Mastering the stop allows young riders to navigate corners, avoid obstacles, and handle unexpected neighborhood traffic with confidence.
Before you head out, ensure you are setting the stage for success. Safety gear, including a properly fitted helmet, is non-negotiable. Choose a flat, wide-open surface like an empty parking lot or a smooth, paved park path away from cars. The ultimate goal is to move your child away from the instinctual, jerky ‘skidding’ stop and toward a smooth, controlled deceleration that keeps them upright and in command. For more advice on active play, check out our guide on the ultimate sports equipment guide for active kids.
Preparation: Assessing Your Child’s Bike
Before your child takes off, you need to ensure their equipment is ready for the task. Start by checking the brake sensitivity. If your child has small hands, the brake levers might be too far away, requiring significant finger strength that they may not yet possess. Most bikes have an adjustment screw that brings the lever closer to the handlebar, making it much easier for little fingers to reach and squeeze. If you find they struggle with grip, try some easy hand strengthening activities for preschoolers.
You also need to understand the difference between coaster brakes and hand brakes. Coaster brakes, which engage when the child pedals backward, are common on smaller bikes. Hand brakes, however, provide more control for older children. Regardless of the system, ensure your child understands the importance of proper hand positioning. Their fingers should rest naturally on the levers at all times, rather than reaching for them only when they are already panicking.
Step-by-Step Teaching Methods
Teaching a new skill is best done in phases. Follow these steps to build confidence without overwhelming your child. For a broader look at cycling skills, you might also find our guide on how to practice starting and stopping a bicycle very helpful.
Phase 1: The Walking Test
Before they ever get on the pedals, have your child walk the bike while standing beside it. Ask them to squeeze the brakes gently to stop the bike’s forward motion. This helps them understand the relationship between the lever and the wheels without the added complexity of balancing or speed.
Phase 2: The Squeeze, Don’t Grab Technique
The most common mistake children make is grabbing the brakes with a full-hand death grip. Teach them the concept of a gradual squeeze. Tell them to imagine they are gently squeezing a sponge or holding a small, fragile toy. This prevents the bike from stopping abruptly and throwing their weight forward.
Phase 3: Front vs. Back Brakes
If the bike has two hand brakes, teach them that the back brake is for slowing down, while the front brake provides the most stopping power. Explain that using only the front brake too hard can cause the rear wheel to lift, which can lead to a tumble. A good rule of thumb is to squeeze both levers at the same time with equal pressure.
Phase 4: Gradual Stopping Drills
Once on the bike, have your child ride slowly on a flat surface. Call out “stop” and have them gently squeeze the brakes to come to a smooth halt. Praise them when they stop without skidding. Keep these sessions short and positive.
Common Braking Mistakes to Avoid
Even with practice, children are prone to panic reactions. The most dangerous is the “death grip,” where a child squeezes both levers as hard as they can in fear. This often leads to locked wheels, skidding, and a potential loss of balance. If you see this, stop and reinforce the “sponge” squeeze technique.
Another issue is relying solely on the front brake. If a child stops too abruptly using only the front, it can cause the bike to pitch forward. Emphasize that the rear brake is their primary tool for controlled slowing. By encouraging them to use both brakes in tandem, you stabilize the bike and ensure a safer, more predictable stopping distance.
Fun Drills to Practice Braking
Practice doesn’t have to be boring. Turn your training into a game to keep your child engaged. You can also explore 15 easy group games for kids at the park to make outdoor time even more exciting:
- Red Light, Green Light: A classic game that forces children to practice starting and stopping on command.
- Stop at the Chalk Line: Draw a line on the pavement and challenge your child to come to a full stop exactly on the line.
- Cone Zones: Place cones in a row and have them practice weaving through them while practicing light braking adjustments to maintain speed control.
Safety Tips for Real-World Scenarios
Real-world conditions change the mechanics of braking. For example, braking on wet, slick surfaces requires much more distance than on dry pavement. Teach your child that if it is raining, they should begin braking much earlier than they normally would.
Gravel or sand can also cause tires to lose traction. Remind your child to keep the bike upright during these moments, as leaning while braking on loose terrain is a recipe for a slide. Most importantly, teach situational awareness. The best way to avoid a hard brake is to look ahead and spot hazards before they become emergencies. For maintenance tips to keep their bike running smoothly, see our guide on the ultimate guide to bike repair kits for family cycling.
Conclusion
Teaching your child to brake safely on a bike takes time, patience, and repetition. By breaking the process down into manageable steps and keeping the experience lighthearted, you are giving your child the tools to stay safe while enjoying their freedom. Remember that every rider learns at a different pace, so celebrate the small wins, like a smooth stop from a low speed. Before you head out for a long family ride, conduct one final safety check to ensure brakes are tight and tires are properly inflated. With a little guidance, your little cyclist will be cruising safely in no time. For more ways to foster independence, see our tips on how parents can encourage independent hygiene habits.
Frequently Asked Questions
What is the best age to start teaching kids how to brake on a bike?
Children can start learning basic braking concepts as early as age three or four when using balance bikes or pedal bikes with coaster brakes. As they transition to hand brakes around age five to seven, you can introduce gradual squeezing techniques.
Should my child use the front or rear bike brake?
Children should ideally use both brakes simultaneously with equal pressure. The rear brake helps control speed and prevents skidding, while the front brake provides stopping power. Using only the front brake too hard can cause the bike to tip forward.
Why does my child keep skidding when stopping?
Skidding usually happens when a child panics and applies a full-hand death grip on the brake levers. To fix this, teach them to squeeze the brakes gently as if they are compressing a soft sponge.
How can I adjust bike brakes for small hands?
Most children’s bikes feature an adjustment screw on the brake levers. Turning this screw brings the lever closer to the handlebar, making it much easier for small fingers to reach and squeeze comfortably.
What fun games can help kids practice bike braking?
You can play classic games like Red Light, Green Light, draw a chalk line on the pavement for them to stop on, or use cones to create obstacle courses that require controlled speed adjustments.
How does wet weather affect bicycle braking?
Wet pavement significantly reduces tire traction and increases stopping distances. Teach your child to start applying their brakes much earlier than usual when riding in rainy or slick conditions.