

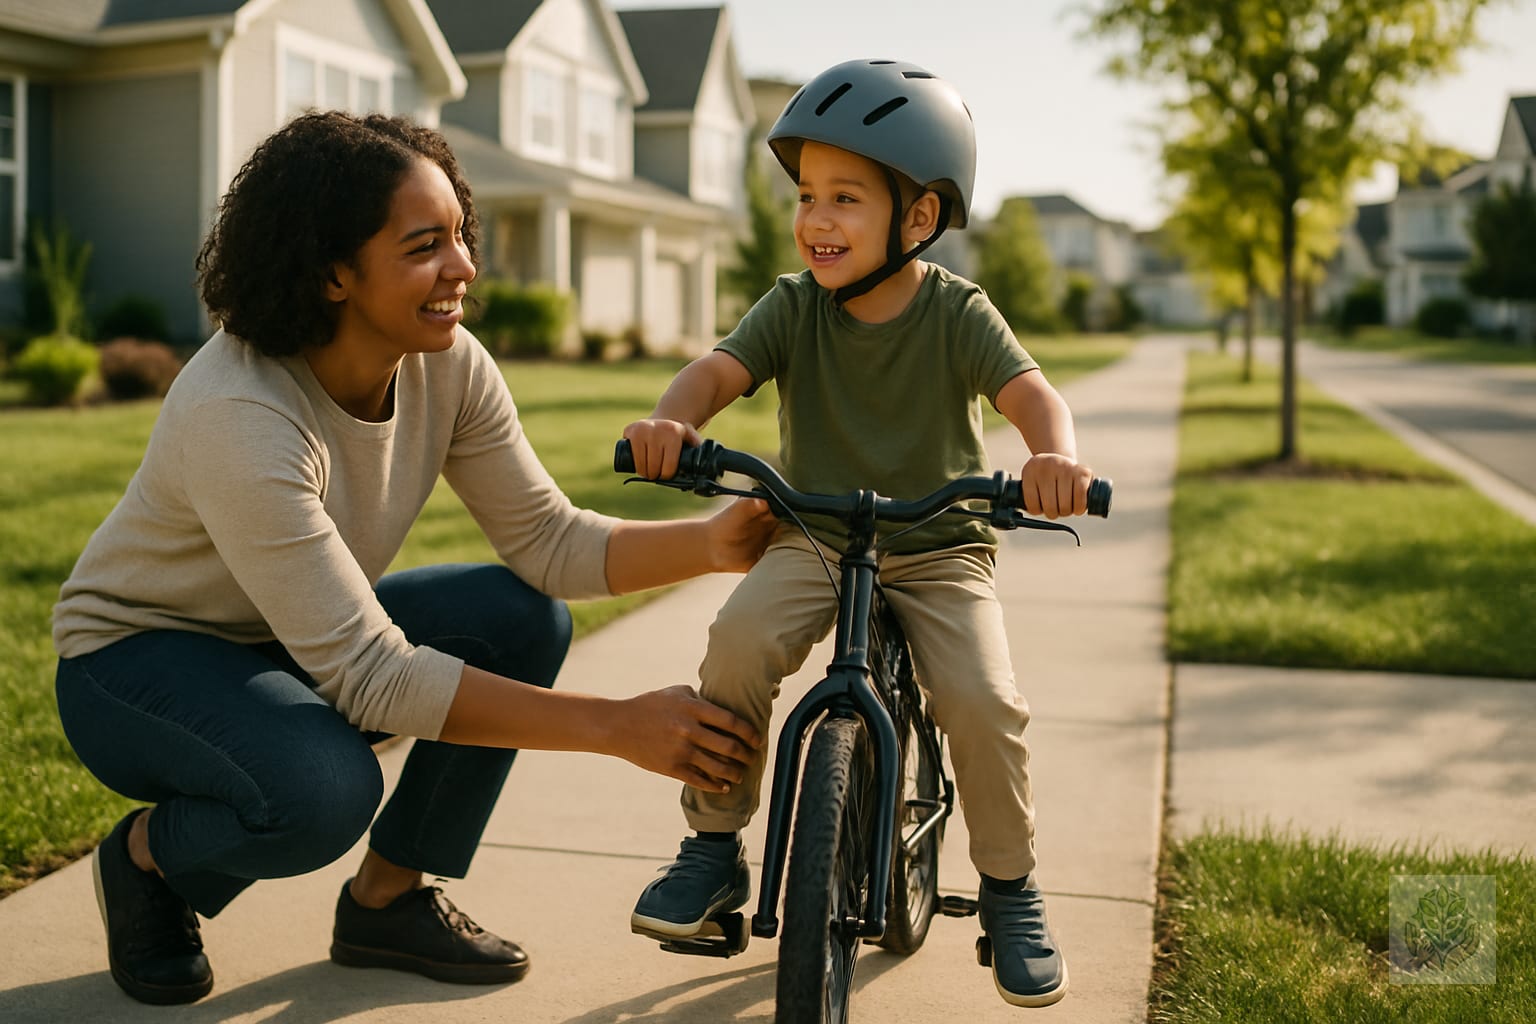
How to Practice Starting and Stopping a Bicycle: A Parent’s Guide to Teaching Kids
Teaching a child to ride a bike is a milestone every parent looks forward to, but the focus often lands solely on balancing. While balance is key, learning how to practice starting and stopping a bicycle is the true foundation of long-term safety and confidence. If a child can glide but cannot stop effectively, they are at risk of accidents. Mastering these two movements gives your child the control they need to navigate sidewalks, parks, and trails with peace of mind.
Many parents wonder why starting and stopping are more critical than pedaling itself. The answer is simple: control. A child who feels in command of their bike is a child who stays calm during unexpected moments. Before you head to the neighborhood park, set the stage for success by choosing a flat, paved area away from traffic, such as an empty school parking lot or a quiet cul-de-sac.
Pre-Ride Safety Check
Before you begin, ensure your child’s gear is ready for action. A bike that fits poorly or lacks maintenance can turn a fun lesson into a frustrating experience.
- Bike Sizing: Your child should be able to touch the ground with their feet while sitting on the saddle. This is crucial for stopping safely. You can also explore the ultimate sports equipment guide for active kids to ensure all protective gear and equipment are properly fitted by age.
- Helmet Safety: Ensure the helmet is level on their head, not tilted back, and that the chin strap is snug. It should only allow two fingers between the strap and the chin.
- Brake and Tire Check: If the bike has hand brakes, ensure your child’s hands can comfortably reach the levers. Inflate the tires to the recommended PSI so the bike rolls smoothly.
Phase 1: Mastering the Starting Technique
The secret to starting a bicycle successfully lies in the positioning of the pedals. Many children try to start with both feet on the pedals while stationary, which leads to immediate wobbling. Instead, teach them the ready position.
The Power Pedal Position
Have your child stand over the bike frame. Instruct them to rotate one pedal so it is positioned at the 2 o’clock position—roughly a quarter turn forward from the very bottom. By placing their dominant foot on this pedal, they can push down with force to gain the momentum needed for balance. The other foot remains on the ground to provide stability until the bike begins to move.
Building Confidence
Before they start pedaling, let them practice the motion of pushing down on that pedal while scooting the bike forward. This helps them understand how the pedal interaction feels without the pressure of having to keep moving immediately. Once they feel steady, encourage them to lift the second foot and find the other pedal as they gain speed. For younger children still developing lower body strength and coordination, incorporating easy movement activities for kids at home can be a great way to build foundational motor skills.
Phase 2: Teaching Controlled Stopping
Learning how to stop a bicycle is often the biggest hurdle for new riders. Whether the bike uses a coaster brake (pedaling backward) or hand brakes, the technique requires a delicate touch.
The Gentle Squeeze
If the bike has hand brakes, emphasize a soft, progressive squeeze rather than a sudden, jerky pull. A sudden grab of the brakes can cause the front tire to lock or the bike to tip forward. Teach your child to use both hand brakes simultaneously with a light, gradual pressure to come to a smooth, controlled halt.
Weight Distribution
Encourage your child to keep their eyes up and looking forward, rather than staring down at their hands or feet. By looking ahead, they maintain better posture and center their weight. As the bike slows, remind them to prepare to put one foot down to stabilize the bike the moment they reach a complete stop.
Step-by-Step Drills for Practice
Once the individual components are clear, turn the lessons into games. These drills make practicing fun while building essential muscle memory.
- The Stop-and-Go Line: Use sidewalk chalk to draw a start line and a stop line about 20 feet apart. Practice starting, riding to the line, and coming to a smooth stop right on the mark.
- Verbal Cues: Use commands like Ready, Set, Go and Ready, Set, Stop. This improves your child’s reaction time and helps them associate your voice with specific physical actions.
- Flat Surface Mastery: Always start on perfectly flat ground. Once they are consistent, you can move to very slight inclines to practice stopping while moving a bit faster.
Troubleshooting Common Roadblocks
It is perfectly normal for children to feel nervous. If your child keeps tipping over at stops, check if the seat is too high, preventing them from putting their feet down quickly. If they seem afraid of falling, remind them that stopping is how they stay safe. If they get frustrated with pedal anxiety, go back to using the bike as a balance bike for a few minutes to regain their sense of equilibrium. When kids experience outdoor physical setbacks, using positive parenting techniques that actually work can help keep spirits high and frustration low.
Parental Tips for a Stress-Free Session
The goal is to foster a love for riding, not to reach professional skill levels in one afternoon. Keep sessions short—about 20 to 30 minutes is usually enough. Offer plenty of positive reinforcement, even for small successes. If you notice your child becoming overly emotional or physically tired, it is time to call it a day. A fresh start the next morning is often much more productive than pushing through frustration.
Conclusion
Learning how to practice starting and stopping a bicycle is an ongoing process that builds real-world independence. Celebrate the small milestones, like that first smooth stop at the driveway line, and keep the environment supportive. By focusing on these core skills, you are giving your child the tools to explore their world safely. With consistency and your guidance, they will soon be ready to graduate from the driveway to neighborhood sidewalks and beyond. For more ideas on keeping children active and healthy outdoors, check out our guide on the best outdoor toys and activities for active kids.
Frequently Asked Questions
Why is starting and stopping more important than pedaling?
Starting and stopping give your child complete control over their bike. Mastering these skills ensures they can navigate obstacles safely and remain calm during unexpected moments.
What is the best way to start a bicycle without wobbling?
Use the power pedal position. Have your child place their dominant foot on a pedal positioned at the 2 o’clock spot, pushing down firmly while keeping the other foot on the ground for stability.
How should kids use hand brakes to stop safely?
Teach them to use a soft, progressive squeeze rather than a sudden, jerky pull. They should apply both hand brakes simultaneously with gradual pressure to avoid tipping forward.
Where is the best place to practice bike riding?
Choose a flat, paved area away from traffic, such as an empty school parking lot, a quiet cul-de-sac, or a smooth neighborhood park path.
How long should a practice session last?
Keep sessions short, around 20 to 30 minutes, to prevent physical fatigue and frustration. Stop immediately if your child gets overwhelmed.
What should I do if my child keeps tipping over when stopping?
Check if the bicycle seat is too high, which can prevent them from placing their feet flat on the ground quickly to stabilize the bike.