

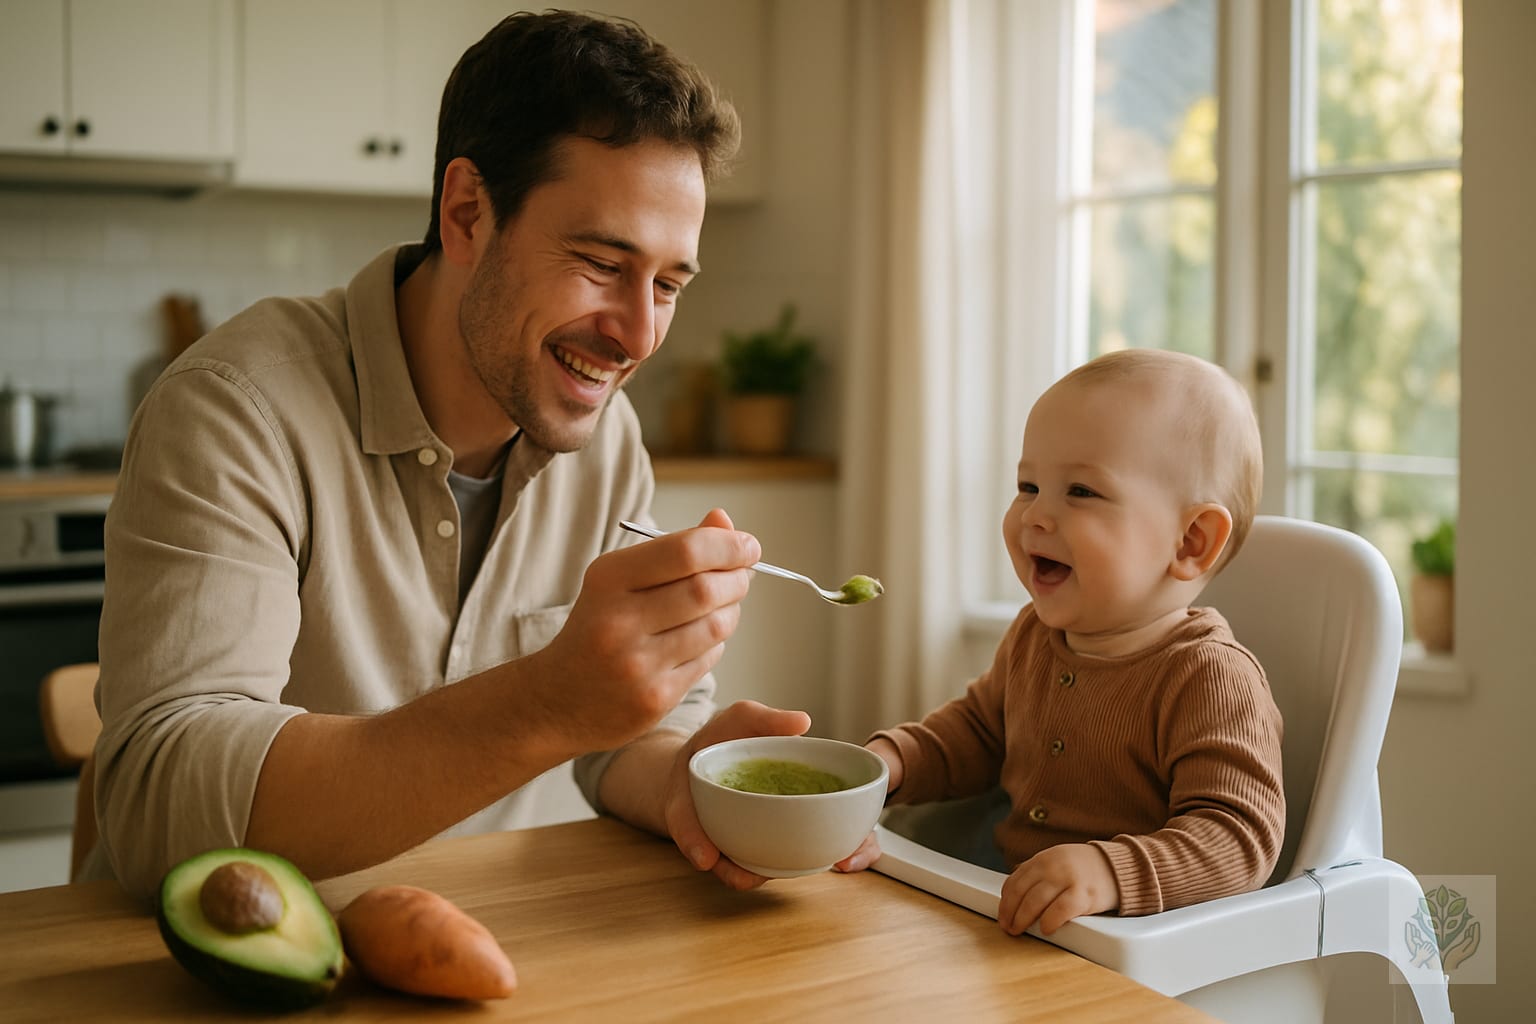
How to Prepare Homemade First Foods for Babies: A Step-by-Step Guide
Transitioning your little one from breastmilk or formula to solids is an exciting developmental milestone. Many parents find themselves wondering about the best way to nourish their growing child. Learning how to prepare homemade first foods for babies is not only a rewarding experience but also a fantastic way to control the quality of ingredients your infant consumes. For a comprehensive look at the basics, check out our guide on everything you need to know before starting baby’s first foods.
The Benefits of Making Your Own Baby Food
Choosing to create your own purees or finger foods offers several distinct advantages. First, there is the cost-effectiveness. Store-bought jars can add up quickly, whereas buying seasonal produce in bulk is significantly more affordable. Second, you gain complete control over the nutritional profile. By avoiding unnecessary additives, sugars, and preservatives, you ensure your baby receives only the cleanest fuel for their development. If you need inspiration, refer to our tips for homemade healthy baby recipes.
Finally, there is the peace of mind. Knowing exactly what goes into your baby’s bowl—and having the ability to experiment with varied, fresh flavors—helps set the foundation for healthy eating habits that can last a lifetime.
Understanding Readiness Signs: When to Start
Before you start cooking, ensure your baby is developmentally ready. Most pediatricians recommend starting solids around six months. Look for these key signs: your baby can sit with little to no support, they have lost the tongue-thrust reflex that pushes food out, and they show a genuine interest in what you are eating.
Purees vs. Baby-Led Weaning
When learning how to prepare homemade first foods for babies, you will encounter two main approaches. Purees involve blending cooked food into a smooth consistency, which is often easier for beginners to manage. Baby-Led Weaning (BLW) involves offering soft, finger-sized pieces of food, allowing the baby to feed themselves. Many parents choose a hybrid approach, offering both smooth purees and soft, graspable pieces to build coordination.
Essential Equipment for Homemade Baby Food
You do not need a professional kitchen to get started. Focus on a few core tools to keep the process efficient:
- High-powered blender or food processor: Essential for achieving a smooth, lump-free texture for early beginners.
- Steamer basket: A simple metal or silicone basket ensures you retain as many nutrients as possible while softening vegetables.
- Storage solutions: Silicone ice cube trays are the gold standard for portioning, while freezer-safe glass jars keep food fresh.
Safety and hygiene are paramount. Always wash your hands thoroughly before food prep. Ensure all surfaces, cutting boards, and blender components are sanitized. Avoid cross-contamination by using separate cutting boards for raw meats and produce. You can find more tips for maintaining a secure environment in our ultimate guide to baby safety.
Best First Foods for Babies
Starting with single-ingredient foods helps you identify potential sensitivities easily. Nutrient-dense options include:
- Vegetables: Sweet potatoes, peas, avocado, and carrots are all packed with essential vitamins and fiber.
- Fruits: Bananas, pears, and apples are naturally sweet and easy to mash or blend.
- Proteins and grains: Iron-fortified oatmeal, lentils, and well-cooked quinoa provide the necessary minerals for growth.
How to Prepare Homemade First Foods: A Simple 3-Step Method
Mastering the technique for creating these meals is simpler than you might think.
Step 1: Washing and Peeling
Always wash produce thoroughly, even if you plan to peel it. Use a vegetable brush for items like carrots or sweet potatoes to remove dirt and residue before cooking.
Step 2: Cooking Methods
Steaming is generally preferred over boiling because it preserves water-soluble vitamins. Alternatively, roasting vegetables like sweet potatoes or carrots can caramelize natural sugars, creating a deeper, more appetizing flavor for your baby.
Step 3: Blending and Adjusting Consistency
Once your ingredients are tender, transfer them to a blender. Use breastmilk, formula, or cooled boiled water to thin the mixture. Start with a thinner consistency and gradually thicken it as your baby masters swallowing.
Safety First: Navigating Allergens and Textures
When introducing common allergens such as peanut butter, egg, or dairy, introduce them one at a time. The traditional 3-day wait rule is a helpful practice; by feeding your baby a new food for three consecutive days without introducing anything else new, you can easily monitor for signs of a rash, vomiting, or diarrhea.
As your baby grows, start introducing textures. Avoid overly processed, liquid-only diets for too long, as chewing is an essential skill that helps develop oral motor strength.
Storage and Food Safety Guidelines
Homemade baby food does not contain the preservatives found in store-bought options, so freshness is key. Keep fresh purees in the refrigerator for no longer than 48 hours. If you make a large batch, freeze it immediately.
The ice cube tray method is incredibly effective. Once the purees are frozen into cubes, transfer them to a freezer-safe bag. When it is time to feed, simply pop out one or two cubes, thaw them in the fridge overnight, or warm them gently in a water bath. For broader advice on maintaining your infant’s nutritional intake, refer to our guide on baby nutrition essentials.
Common Challenges and Troubleshooting
It is perfectly normal for babies to reject a new food at first. Research suggests it can take up to 10 or 15 exposures before a baby develops a preference for a new flavor. Stay calm and keep offering, even if they make a funny face.
If your baby experiences constipation, increase their intake of fiber-rich foods like peas or pears, and ensure they are getting enough fluids. If you feel overwhelmed, remember to balance your homemade efforts with the convenience of table foods like soft avocado or banana slices.
Conclusion
Learning how to prepare homemade first foods for babies is a journey that connects you deeply with your child’s growth. It requires patience, creativity, and a bit of trial and error, but the health benefits for your little one are immeasurable. Start small, stay consistent, and remember that every new bite is a step toward a lifetime of healthy eating.
Do you have a favorite first food you plan to try? Or perhaps a success story from your baby’s first meal? Share your experiences in the comments below, and don’t forget to download our printable Baby First Food Schedule to keep your transition organized and stress-free!
Frequently Asked Questions
When is the right time to start babies on solid foods?
Most pediatricians recommend starting solids around six months of age. Look for readiness signs like the ability to sit with minimal support, loss of the tongue-thrust reflex, and a clear interest in your food.
Should I use purees or baby-led weaning for my baby?
Both methods are great. Purees involve blending cooked foods into a smooth texture, while baby-led weaning offers soft, graspable pieces. Many parents use a hybrid approach to build motor skills and coordination.
What equipment do I need to make baby food at home?
You only need a few basic tools, including a high-powered blender or food processor, a steamer basket to retain nutrients, and silicone ice cube trays or glass jars for safe storage.
How long can I store homemade baby food in the fridge?
Without preservatives, homemade baby food spoils quickly. Keep fresh purees in the refrigerator for a maximum of 48 hours. Freeze any extra portions immediately for later use.
How should I introduce common allergens to my baby?
Introduce common allergens like peanut butter, dairy, or eggs one at a time. Use the three-day wait rule, feeding the same new food for three consecutive days to easily monitor for any adverse reactions.
What should I do if my baby rejects a new food?
It is completely normal for babies to reject new flavors at first. Research shows it can take up to 10 to 15 exposures for a baby to accept a new food, so stay patient and keep offering.